
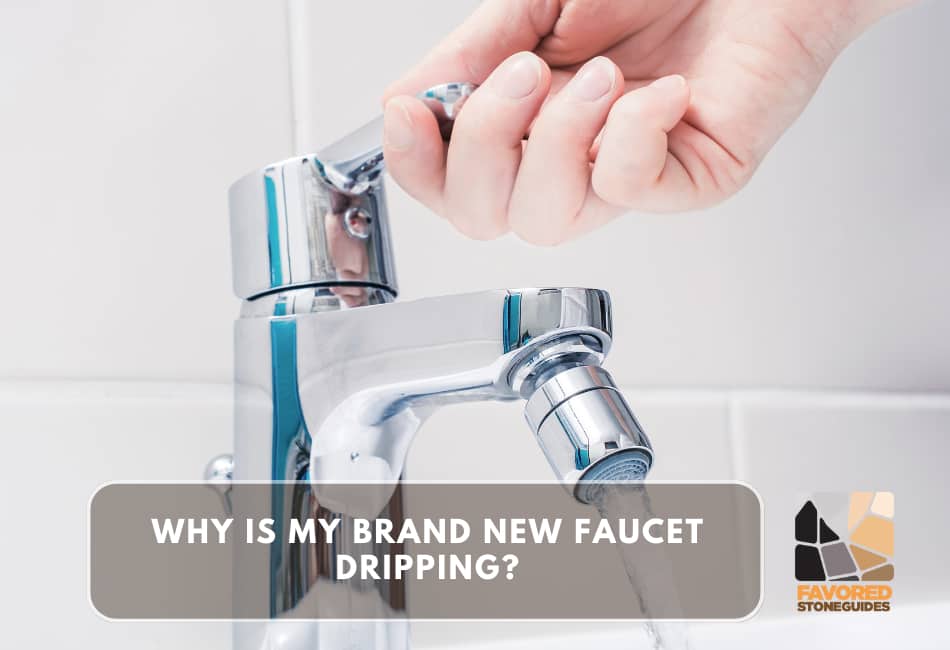
Have you recently installed a brand-new faucet only to find it dripping? It can be puzzling, correct?
But don’t worry, this comprehensive guide is here to help you understand why this might happen and provide practical solutions to fix it.
In the following sections, we’ll delve into the 7 most common reasons behind a new faucet’s mysterious dripping. Stay tuned, and get ready to be your plumber!
1. Manufacturing Defects
Sometimes, the fault isn’t our stars or plumbing skills but our installed faucet. Let’s break down the potential manufacturing defects that may be causing your new faucet to drip.
Faulty O-rings or washers
This reminds me of when I installed a brand-new faucet in my bathroom. I was excited about the sleek design and the modern touch it would bring to my space.
But to my dismay, it started dripping right away! After some research, I discovered the issue was with the O-rings and washer.
O-rings and washers are essential components of your faucet that ensure a tight seal. When these parts are defective or improperly sized, leakage can occur.
It’s like wearing a too big or small hat—it won’t fit right! So, don’t forget to check these parts when installing a new faucet or diagnosing a drip.
Loose valve components
It reminds me of when I helped my friend, Sarah, with her faucet that wouldn’t stop dripping. She was at wit’s end, having tried changing washers and even the whole faucet. But the thing just wouldn’t quit dripping!
After some tinkering around, we discovered the problem was due to loose valve components. How could this be, you might ask?
Well, within the faucet, the valve components control the flow and temperature of the water. When these parts are loose, water can seep through, causing a persistent drip.
We fixed the issue by simply tightening the valve components. It was quite a moment of triumph, and trust me, we celebrated with some seriously delicious homemade pizza afterward!
So, remember, before you pull your hair out over a dripping faucet, check out these manufacturing defects. You might find a simple solution.
2. High Water Pressure
Sometimes, the problem isn’t with the faucet or its components but with the water pressure in your home.
I remember moving into my new apartment, excited about everything, especially the high-pressure shower after a long day’s work. But soon, I started noticing my faucets dripping excessively.
Impact of High Water Pressure
High water pressure might sound good, especially when looking forward to a powerful shower, but it can cause serious issues.
When the water pressure is too high, it can lead to a water hammer, which stresses your pipes and faucets.
This results in your faucets dripping as they struggle to handle the pressure. It was a hard lesson learned, but it taught me the importance of balanced water pressure.
Installing a Pressure Regulator
After some internet digging and chatting with my friendly neighborhood plumber, I installed a pressure regulator.
This device helps control the water pressure flowing into your home. My plumber recommended setting it at a safe pressure range of 45-60 psi to prevent faucet leaks and other plumbing issues.
Installing the pressure regulator was a game-changer for me! No more leaks, and my faucets and pipes were safe from the risk of damage due to high pressure.
Remember, it’s not always an issue with the faucet itself, sometimes the water pressure is the culprit behind a dripping faucet.
So, consider checking the water pressure if facing a similar issue. It could save your day and your faucets!
3. Improper Installation
Improper installation can also lead to dripping faucets. I learned this the hard way when I tried to replace a faucet by myself for the first time.
Let’s dive into the standard installation issues and how they impact your faucets.
Loose Connections
When I attempted to replace my old, rusty kitchen faucet, I was confident it would be a breeze. I mean, how hard could it be?
It was just a matter of unscrewing the old faucet and screwing in the new one, right? Wrong! After a few days, water started leaking around the base of the faucet.
Upon reinspection, I realized that some of the connections were loose. I hadn’t tightened them enough during the installation.
The loose connections allowed water to escape, causing the leaks. I learned that it’s essential to secure all connections properly when installing a faucet, ensuring a water-tight seal.
Incorrect Assembly
Another problem I encountered when replacing my bathroom faucet was incorrect assembly. There were so many components, and I’ll be honest, I mixed up a few.
The result? You guessed it, a dripping faucet. I learned then that it’s crucial to follow the assembly instructions meticulously.
Each component must be in the right place and orientation for the faucet to function correctly.
Moreover, some parts may seem unnecessary or excessive, but trust me, they’re there for a reason. After correcting the assembly, my bathroom faucet worked perfectly, with no drips in sight.
Therefore, as much as DIY projects can be fulfilling and cost-effective, it’s essential to be fully informed and careful.
Improper faucet installation can lead to issues like loose connections and incorrect assemblies, causing pesky drips.
And remember, there’s no shame in calling a professional when you’re out of your depth. In my experience, it can save you from a lot of headaches!
4. Mineral Buildup
One of the most insidious culprits behind my faucet woes was something I didn’t expect: mineral buildup.
Hard water is notorious for depositing minerals that gradually accumulate over time, leading to blockages and affecting the faucet’s functionality.
Effects of Hard Water on Faucets
Let’s talk about hard water. When I first moved into my home, I remember the water felt different. It left a residue on my skin and made my hair feel dry.
But I never thought it could be hard on my faucets, too. Over time, the high mineral content in hard water led to a buildup in my faucets, reducing water flow and causing wear and tear.
The faucet handles became increasingly complex to turn, and the water pressure dropped significantly. It was frustrating.
Steps to Remove Mineral Deposits
Facing the grim reality of mineral deposits, I knew it was time to act. The first step was to arm myself with the right tools – a good old toothbrush, vinegar, and some patience.
After shutting off the water supply, I removed the aerator, the small device at the faucet’s end. It was clogged with a white, chalky substance (mineral deposits!).
I soaked it in vinegar for a few hours, then scrubbed it gently with the toothbrush. For the faucet, I soaked a cloth in vinegar and wrapped it around the areas affected by the buildup, letting it sit for about an hour.
The acidity of the vinegar helped dissolve the mineral deposits, making them easier to scrub away. After a good rinse and reassembling the aerator, my faucet returned to its shiny, fully functional self.
Tackling mineral buildup was an eye-opening process for me. It taught me the importance of regular maintenance and the effects of hard water on household fixtures.
And the satisfaction of restoring my faucet’s water flow? Priceless. So, here’s a pro tip from one homeowner to another: don’t underestimate the power of regular checks and cleaning. It can save you a whole lot of trouble down the line!
5. Corroded Valve Seat
A common issue I faced with my faucets was the corrosion of the valve seat. This little component connects the faucet and the spout in the compression mechanism.
Corrosion in this area can cause leaks and reduce overall faucet performance.
How Corrosion Affects Faucet Function
When the valve seat gets corroded, it directly impacts how your faucet functions. I remember waking up one day to find a persistent drip from my bathroom faucet.
No matter how tightly I turned the handles, it wouldn’t stop. I was puzzled until I discovered the corroded valve seat was the culprit.
When the valve seat corrodes, it can no longer form a tight seal when the faucet is turned off, leading to those pesky drips.
Cleaning or Replacing the Valve Seat
The good news is that handling a corroded valve seat is not as daunting as it sounds. In some milder cases, cleaning can work wonders.
I’d first turn off the water supply and then unscrew and remove the valve stem from the top of the faucet.
Using a flashlight, I could see the valve seat at the bottom. A simple scrub with a wire brush and vinegar took care of minor corrosion.
But sometimes, the corrosion is too severe, and cleaning just won’t cut it. That was the case with my kitchen faucet – the constant leaks had caused extensive damage to the valve seat, and no scrubbing seemed to help.
I had to replace it, and let me tell you, it’s not as complicated as it sounds. With a valve seat wrench, I could unscrew the old, corroded seat and screw in a shiny new one.
In both cases, tackling the corroded valve seat helped restore my faucets to full functionality. And trust me, the satisfaction of fixing a leaky faucet on your own is simply unmatched!
6. Damaged Cartridge
Like the valve seat, a damaged cartridge can lead to leaky faucets. Over time, I’ve realized that the cartridge, an integral part of the faucet, can wear out or become damaged, leading to water flow issues.
Signs of a Damaged Cartridge
First, let’s talk about determining if your faucet cartridge is damaged. From my experience, one clear indicator is the water temperature inconsistency – one moment, it’s too hot, and the next, it’s cold.
During one particularly chilly winter evening, I noticed the shower temperature fluctuated wildly despite setting it to a comfortable warm.
I also found the water pressure inconsistent, and the faucet handle was hard to turn. That’s when I knew – the cartridge was damaged.
Replacing the Cartridge
Replacing a damaged cartridge, while a bit more intricate than replacing a valve seat, is still very manageable. I remember the first time I had to do it.
I turned off the water supply and removed the handle of the faucet. The cartridge was right there, waiting for me.
With a cartridge puller, I carefully removed the damaged cartridge, keeping a keen eye not to damage the surrounding parts.
I then replaced it with a new one – ensuring it fit snugly and securely. I screwed the faucet handle back on, turned on the water supply, and voila – the faucet was as good as new!
The process was straightforward, and the reward of a well-functioning faucet was well worth the effort.
8. Worn-out Seals
Another common reason for a leaky faucet is worn-out seals. Seals, like any other part of the faucet, can wear out over time, causing drips and leaks that can be frustrating.
Causes of Seal Wear
The primary cause of seal wear is sediment buildup. Over time, water carries tiny particles that can accumulate in the faucet, causing wear and tear on the seals.
I remember a few years back when my kitchen faucet started dripping non-stop. I had replaced my cartridge recently, so I was stumped by this new issue.
After investigating, I realized the faucet’s seals had worn out due to sediment buildup.
Replacing Seals for a Drip-Free Faucet
Replacing worn-out seals isn’t as daunting as it sounds. Here’s my experience. First, I had to turn off the water supply to avoid unwanted water flow.
Then, I removed the faucet handle, just like when I had to replace the cartridge. Underneath, I found the seals. They were overused and worn out.
I went to my local hardware store, showed them the worn-out seals, and they provided me with new ones of the same size.
After replacing the old seals with new ones, I reassembled the faucet. I couldn’t help but smile as I turned on the water, and there it was – a drip-free faucet!
This experience reiterated that anyone can handle minor plumbing repairs at home with patience and the right tools.
Conclusion
Looking back, my journey through the world of plumbing taught me that a brand-new faucet could drip for several reasons.
It could be due to a dysfunctional cartridge, my first encounter with faucet problems.
Then, there might be issues with worn-out seals, as I found out later when my faucet continued to drip despite a recent cartridge replacement. The culprit was sediment buildup, causing wear and tear on the seals.
From my experience, I encourage you not to dread these minor plumbing issues. Handling them promptly can save you from costly water bills and the annoying sound of a dripping faucet.
Patience is critical, and the right tools are your best friends. Don’t let a dripping faucet ruin your peace; take the first step, investigate, and you’ll be surprised how capable you are!
While fixing minor issues around the house is empowering, knowing when to seek help is equally important.
If you’ve tried replacing the cartridge and the seals, and your faucet is still dripping, it might be time to call a professional plumber.
There’s no shame in admitting when a problem is beyond your skill level. After all, professional plumbers are there for just such situations!