
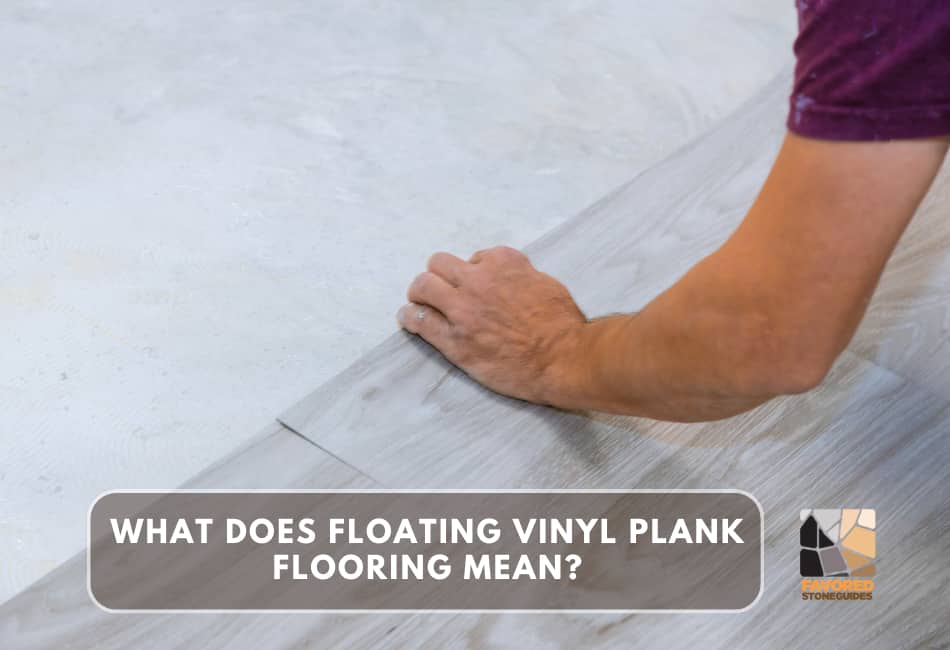
“Floating Vinyl Plank Flooring” is a term used to describe a type of flooring that, unlike traditional flooring methods, does not need to be nailed or glued to the subfloor.
Instead, it simply ‘floats’ above it, held in place by the weight of the material and friction between the planks.
Over the years, this type of flooring has increasingly gained popularity for its affordability, durability, and easy installation process.
This blog post aims to provide a comprehensive understanding of Floating Vinyl Plank Flooring, its features, benefits, and why it may be the optimal choice for your next home improvement project.
Floating Vinyl Plank Flooring
Floating Flooring
In my experience with home renovation projects, the term “floating flooring” initially confused me.
However, it is just a simple way to explain how the flooring is installed.
Floating flooring means the planks are not fixed to the subfloor beneath them. Quite intriguing, isn’t it?
They rely on the weighty nature of the material itself and the interlocking mechanism between the planks to stay in place.
Characteristics of Floating Vinyl Plank Flooring
1. Interlocking Planks
One of the defining features of Floating Vinyl Plank Flooring is the interlocking planks.
This reminds me of my childhood passion for puzzle-solving.
The planks are designed to quickly lock into each other, just like puzzle pieces, making the setup a smooth process.
2. No Adhesive or Glue
Believe it or not, installing Floating Vinyl Plank Flooring doesn’t require adhesive or glue, which was a game-changer for me.
With no messy glue, the installation process is cleaner and faster.
3. Underlayment
An underlayment is usually employed underneath the Floating Vinyl Plank Flooring.
It performs a similar role to the cushioning under a carpet and provides a smoother surface for the planks.
Remember, it’s like providing a comfortable bed for the flooring to rest on!
Advantages of Floating Vinyl Plank Flooring
1. Easy Installation
One of the most significant advantages of Floating Vinyl Plank Flooring is its easy installation.
I can vouch for this personally – my first attempt at DIY flooring was surprisingly smooth, all thanks to this feature.
2. Sound and Thermal Insulation
Floating Vinyl Plank Flooring also offers excellent sound and thermal insulation properties. It’s like having a built-in noise and temperature controller for your floor.
I have witnessed a noticeable decrease in noise levels and a comfortable warmth in my home after installation.
3. Moisture Resistance
When I heard that Floating Vinyl Plank Flooring is moisture-resistant, I was immediately sold.
We all know how damaging water can be to floors, and this feature provides an added layer of protection.
Limitations and Considerations
1. Subfloor Requirements
While Floating Vinyl Plank Flooring is relatively low-fuss, it does require a smooth and level subfloor for proper installation.
This was a point I learned the hard way during my first installation.
2. Expansion Gaps
It’s important to remember that these floors can expand and contract with temperature changes.
So, don’t forget to leave expansion gaps when installing, something I learned from a friend who’s a professional installer.
3. Environmental Impact
Lastly, while Floating Vinyl Plank Flooring is highly durable and long-lasting, it’s not biodegradable, which raises valid environmental concerns.
As someone who tries to be conscious of environmental impact, this is a factor worth considering.
Installation Process
The installation process of Floating Vinyl Plank Flooring is not overly complicated and can be accomplished with some essential tools. Here’s how I did it:
Tools and Materials Needed
Before you start, ensure you have all the necessary tools and materials.
You will need a tape measure, a carpenter’s square, and a utility knife for accurate measurements and cuts.
Additional materials include the vinyl planks, underlayment, and a rubber mallet to help set the planks in place.
Step-by-Step Installation Guide
- Preparing the Subfloor
The first step is to prepare the subfloor. Clean the surface thoroughly, remove debris, and ensure it’s level.
I used a level tool to check the surface and a scraper to smooth any rough patches.
- Laying Underlayment
Next, I unrolled the underlayment across the subfloor.
Remember, this layer is essential for sound and thermal insulation, and it also provides a cushion for the planks.
- Installing the First Row
The installation process began at one corner of the room.
I carefully aligned the first plank, ensuring that the tongue side faced the wall.
- Interlocking Planks
Interlocking the planks was a bit tricky at first. The key here is to angle the next plank and fit it into the groove of the first plank, then lower it to the floor.
- Cutting and Fitting
When I reached the end of a row, I measured and cut the last plank to fit. A utility knife was handy for this task.
- Expansion Gaps and Trim
Remembering the lesson from my friend, I left an expansion gap around the room’s perimeter.
After installing all the planks, I added the trim to conceal these gaps.
Conclusion
In this guide, we have discussed how to install floating vinyl plank flooring, starting from gathering the necessary materials and tools, preparing the subfloor, laying the underlayment, and installing the planks.
I shared my personal experience, including my challenges and tips, such as handling the tricky part of interlocking the planks and the importance of leaving an expansion gap.
Indeed, choosing floating vinyl plank flooring was not an arbitrary decision.
Its appeal lies in its affordability, durability, and the fact that it can mimic the appearance of more expensive materials like hardwood or stone.
The satisfaction I felt looking at the finished work is hard to express in words; my room was transformed in a day!
When it comes to choosing the right flooring for your home, it’s vital to consider not only aesthetics but also practicality.
From my experience, floating vinyl plank flooring hit the right balance. It was worth the time invested to learn and perform the installation, knowing that I have a floor that matches my taste and will serve me well for years.