
Marmarino Fine is a luxurious plaster finish known for its subtle shine, depth, and timeless appeal.
Whether you’re enhancing a feature wall or covering a large commercial space, this guide will walk you through each stage of the process—from priming to waxing.
Let’s dive in.
1. Preparing the Surface
Before applying any plaster, it’s critical to prepare your surface correctly for optimal adhesion.
- Ensure the wall is clean, dry, and dust-free.
- Apply a quartz primer to the surface using a roller for large areas or a brush for edges and corners.
- Allow the primer to dry overnight or as per product instructions.
The quartz primer creates a textured base, helping the plaster grip the surface while preventing peeling or uneven drying.
2. Applying the Base Coat with Marmarino Medium
The base coat lays the groundwork for the Marmarino Fine layers.
Materials needed:
- 1 kg tub of Marmarino Medium (color code 027-1)
- Spatula or mixing tool
- Stainless steel trowel
Instructions:
- Mix the material thoroughly to ensure the ink is evenly distributed.
- Use the spatula to load plaster onto your trowel.
- Hold the trowel at a 20–30 degree angle.
- Apply the plaster in fan-like motions, spreading it thin and evenly to cover the entire primed surface.
- After initial application, go back over the area lightly to smooth out excess material and reduce visible lines.
For large surfaces:
- Work section by section, applying material and smoothing as you go.
- Right-handed applicators should work left to right; left-handed applicators should work right to left.
- Once a section is applied, return to the starting point to flatten any excess while it’s still workable.
- Allow the base coat to dry for at least 12 hours.
3. Flattening the Base Coat
After 10–15 minutes of drying:
- Lightly go over the base coat again using fan-like motions with your trowel.
- This step flattens excess material left by the application strokes while maintaining subtle texture.
For large surfaces, follow the same process:
- Flatten each section after it has partially set, usually by the time you return to the first area.
4. Applying the Second Coat with Marmarino Fine
The second coat introduces refinement and depth.
Materials needed:
- A tub of Marmarino Fine (color code 021-3)
- Stainless steel trowel
- Spatula or mixing tool
- 800 grit sandpaper
Instructions:
- Lightly sand the edges of your trowel with 800 grit sandpaper to ensure smooth edges.
- Ensure the surface is dust-free.
- Mix your Marmarino Fine to integrate the ink completely.
- Apply a very thin layer using a trowel angle of above 20 degrees.
- Use enough pressure to spread the material while leaving a thin film.
- Work in fan-like motions to build subtle movement in the finish.
- Immediately remove excess material by lightly passing over the area.
Be cautious not to overwork or over-polish the second coat—doing so can make it harder for the third coat to adhere.
For large surfaces:
- Continue working in manageable sections.
- Always remove excess before moving to the next area.
Allow the second coat to dry for at least 12 hours.
5. Applying the Top Coat with Marmarino Fine
The top coat completes the finish with a refined, subtle sheen.
Materials needed:
- A tub of Marmarino Fine (color code 021-3)
- Stainless steel trowel
- Spatula or mixing tool
- 800 grit sandpaper
- Polishing cloth
Instructions:
- Inspect the surface and lightly sand any dried material bumps with 800 grit sandpaper.
- Remove all dust before starting.
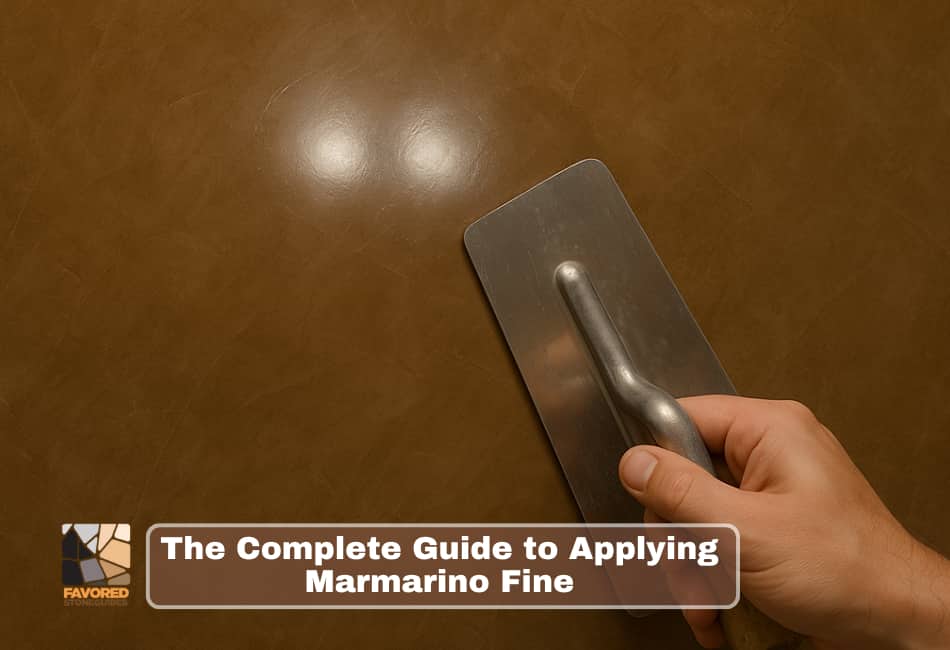
- Hold the trowel at a 20–30 degree angle.
- Apply a thin, even layer using fan-like motions.
- If any area feels too thick, go back over it immediately to remove excess.
- The material dries quickly—burnish immediately after application while it’s still workable.
Burnishing:
- Keep using fan-like motions with the trowel at a 30-degree angle.
- Apply moderate pressure; you will not be able to burnish lightly like other finishes.
- Burnish for 2–3 minutes per section, wiping excess material off the trowel as needed.
For large surfaces:
- Work in small, irregular-shaped sections so blending lines are not visible.
- Apply and burnish each section before moving to the next.
- Optionally have a second person burnish behind you to maintain timing.
6. Waxing the Marmarino Fine Finish
Waxing seals and enhances the finish.
Materials needed:
- Natural beeswax
- Pinello brush or sponge
- Microfiber polishing cloth
- Optional: Machine polisher with microfiber bonnet
Instructions:
- Shake the beeswax well.
- Apply one thin, even coat of beeswax using the brush or sponge, following the direction of your fan-like pattern.
- Let the wax soak in for 5–10 minutes.
- Polish in circular motions with the microfiber cloth.
- Turn the cloth regularly to avoid reapplying excess wax.
- For added protection, apply a second coat of beeswax once the first has dried.
For large surfaces:
- Use a flexible trowel to spread the wax after brushing to speed up coverage.
- Polish using a machine polisher at speed 3 with a microfiber bonnet.
- Avoid higher speeds to prevent overheating the wax.
Final Thoughts
Applying a Marmarino Fine finish is a rewarding process that combines traditional craftsmanship with modern elegance. While it requires patience and precision, the result is a wall that exudes timeless sophistication.
Whether working on a sample board or a grand feature wall, following each step carefully will ensure a smooth, refined finish with beautiful depth and a subtle sheen.